5 Tips to Protect Your AI API Keys in 2025
April 7, 2025
Learn how to secure your OpenAI, Anthropic, and other AI API keys from unauthorized access to prevent billing surprises and data breaches.
Fernando Chaves
December 9th, 2024
Push notifications are an essential feature for mobile apps, ensuring users stay engaged with timely updates and alerts. Setting up push notification in React Native can seem daunting, but with the right tools and guidance, you can seamlessly integrate this feature into your app. This guide will take you step by step through the setup process, using tools like Expo Push Notifications and Firebase.
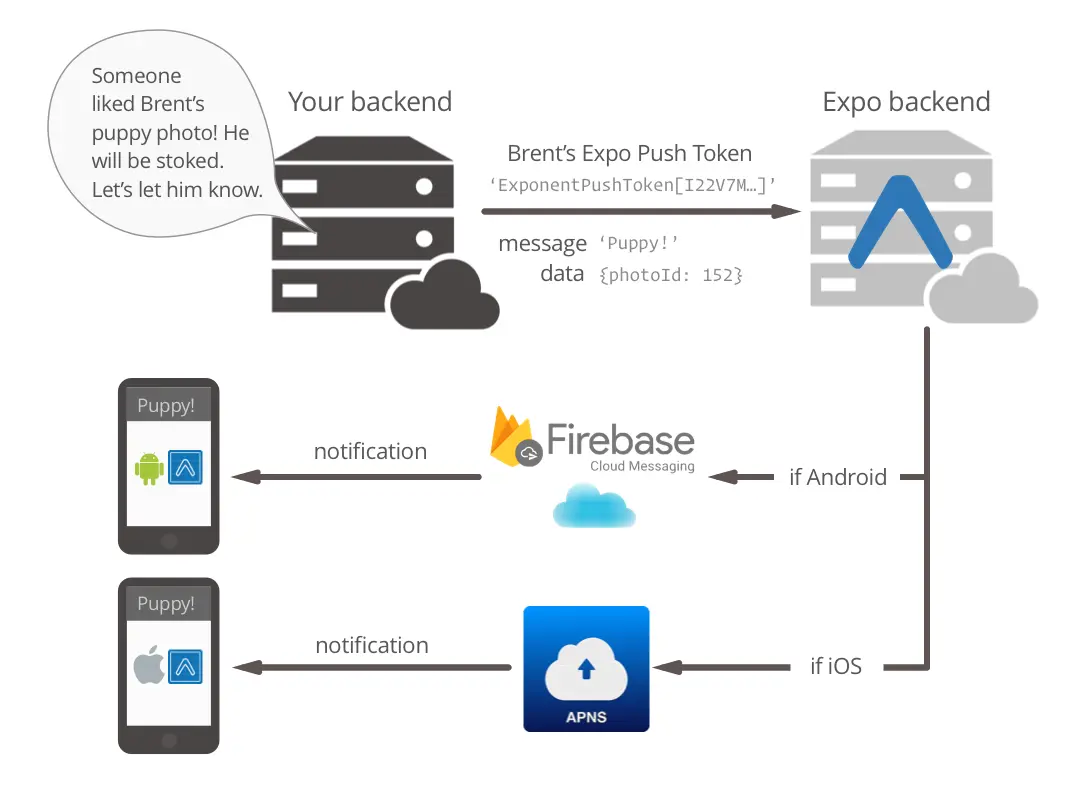
Push notifications provide a direct way to communicate with users, whether to share promotions, remind them about updates, or notify them of critical information. In this tutorial, we'll explore two main approaches: using Expo Notifications and implementing Firebase Cloud Messaging for a custom setup.
Expo Push Notifications and Firebase are popular choices for handling push notifications in React Native apps.
Choose the tool that aligns with your project requirements.
Expo makes it incredibly easy to implement push notifications. Follow these steps:
expo install expo-notifications
Configure your app for push notifications in app.json or app.config.js:
"expo": {
"ios": {
"supportsTablet": true,
"bundleIdentifier": "com.example.yourapp",
"config": {
"googleServicesFile": "./GoogleService-Info.plist"
}
},
"android": {
"package": "com.example.yourapp",
"googleServicesFile": "./google-services.json"
}
}
Register your device and get a push token:
import * as Notifications from 'expo-notifications';
const getPushToken = async () => {
const token = await Notifications.getExpoPushTokenAsync();
console.log(token);
};
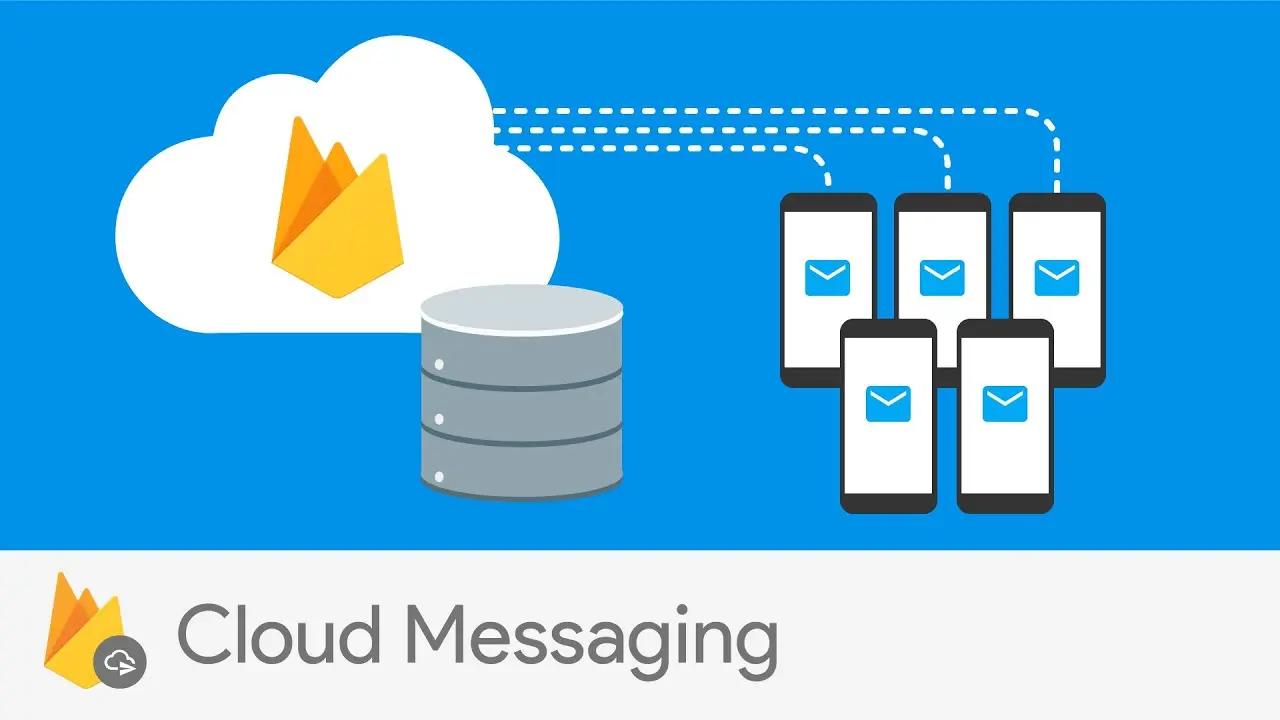
If you're using the bare workflow or want more customization, Firebase Cloud Messaging is the way to go.
npm install @react-native-firebase/app @react-native-firebase/messaging
Request notification permissions:
import messaging from '@react-native-firebase/messaging';
const requestPermission = async () => {
const authStatus = await messaging().requestPermission();
const enabled = authStatus === messaging.AuthorizationStatus.AUTHORIZED ||
authStatus === messaging.AuthorizationStatus.PROVISIONAL;
if (enabled) {
console.log('Authorization status:', authStatus);
}
};
Handle notifications:
messaging().onMessage(async (remoteMessage) => {
console.log('Notification received in foreground:', remoteMessage);
});
Testing is crucial to ensure your push notifications work as expected. Use the Expo Push Notification tool for Expo projects, or the Firebase console for FCM, to send test messages. Verify that messages are received on both Android and iOS devices.
Adding push notification in React Native apps enhances user engagement and retention. Whether you choose Expo Notifications for simplicity or Firebase for customization, following this guide will help you implement push notifications effectively.
Are you looking to build your React Native app faster? With LaunchYourApp, our powerful React Native boilerplate, you can skip the hassle of setting up features like push notifications. Our boilerplate comes pre-configured with Expo Push Notifications, saving you time and effort. Start building your app today and let us handle the setup!
April 7, 2025
Learn how to secure your OpenAI, Anthropic, and other AI API keys from unauthorized access to prevent billing surprises and data breaches.
October 14, 2024
An in-depth comparison of React Native and Ionic frameworks for mobile app development, helping you make the right choice for your project in 2024.
October 2, 2024
Learn effective techniques and tools for debugging network requests in React Native applications. Improve your app's performance and troubleshoot API issues with ease.